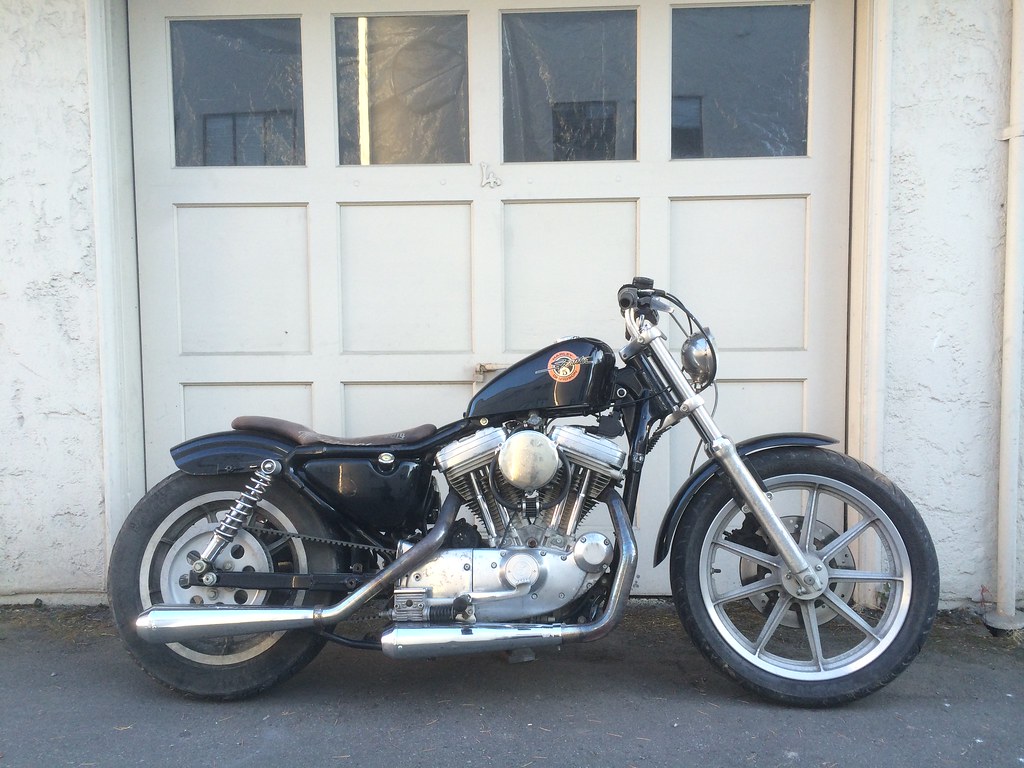
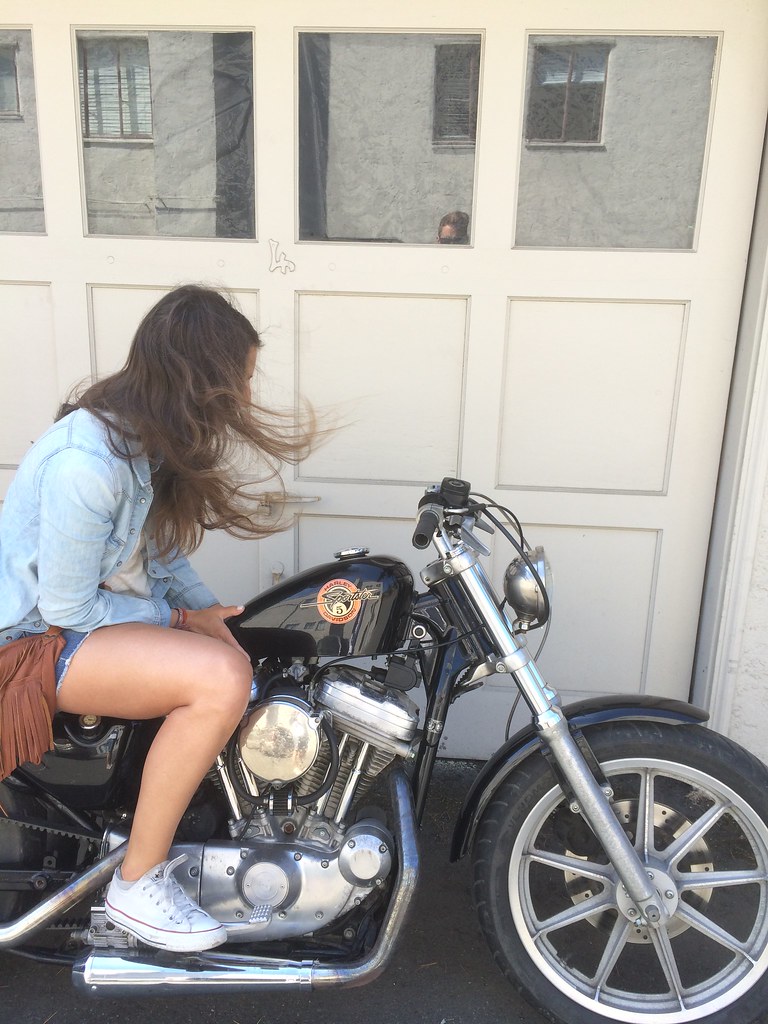
latest purchase:
Apollo Motorcycles
Wednesday, August 13, 2014
Wednesday, September 25, 2013
ESL
working on primarily honda CB's the last few years, I've become quite versed in it's language. sure, there are varying dialects but never straying to far from it's core, and I find myself referencing manuals less and less.
Saturday, September 21, 2013
Thursday, September 19, 2013
CB750 build continues
with a few shipping issue out of the way, my crankshaft main bearings showed up successfully on monday afternoon. it didn't take long to plastiguage for clearances, drop in the transmission, shift drum and button up the bottom end. tuesday, I tackled the engine on all fronts, installing the stator, clutch and shifter assembly. once I have a decent set of cylinders, the rest of the build should all fall together.
happenings around the shop
the XS650 build is continuing on it's slow and stead pace. problems with the stock head gasket has prompted a custom made copper head gasket. with the gasket on it's way, the build will nears completion.
m.'s CB750 had a few charging issues that were sorted out, but he was still going through batteries fast. the original builder of the bike had the wiring set up with the headlight, tail light, speedo and tach lights all on once you turn the key position to on. m.'s 3 amp/hour battery didn't stand a chance handling such a huge draw. I installed a waterproof accessory switch, so that with the key switched to the on position, the only draw are the coils and the pamco ignition (0.020 amps). With the accessory switch, all the lights can be saved for after dark.
Labels:
cafe,
CB750,
electrical,
HUGHSHANDBUILT,
pamco,
PMA,
rephase,
XS650
Thursday, July 18, 2013
CB750 engine rebuild
for the last year, I have been picking away at my own person CB750 project. this frankenbike is a build up mostly from accumulated parts I had lying around, along with a few purchases I have made. I decided a few days back to do a full engine rebuild. the engine's primary chains were pretty sloppy, the top end was quite weepy and since I am doing a ground up bike build, I wanted peace of mind that the engine is solid.
after quickly cleaning up the head, I refaced the valves and cut new valves seats.
after quickly cleaning up the head, I refaced the valves and cut new valves seats.
Once the valves were refaced, I back cut the valves with a 30 degree angle above the contact area to remove the lip and allow better flow.
100% seal on the vacuum test.
I finished the head off with a quick resurface to get a great seal with the head gasket.
I am considering cleaning up the combustion chamber and ports a wee bit, but for now, it's onwards to the bottom end...
new work rolls in
last week, M. dropped off his '72 CB750 with a small list of troublesome gremlins: a leaky shifter side cover, an exhausted charging system, and an antiquated ignition system.
the pamco ignition rotor proved to be a little troublesome on installation. this was due to too loose of a tolerance where the rotor installs on the stock advance mechanism. with some manual machining, the two parts mated up perfectly.
( the rotor on my personal CB750. Notch is 0.160" wide)
(M.'s rotor is 0.008" narrower. too narrow for the advance weights to fit in)
also on installation, I did notice that M.'s ignition advance springs were not fully working. as they do not make the springs anymore, I'll be heading to the salvage yard this weekend to dig up a pair in better condition.
Subscribe to:
Comments (Atom)

